

There are limitless styles, objects and supplies to explore when creating art. It is typical to hear somebody say “there is only one way to draw”, or have an art teacher criticize your work for being unique, but the truth is that the world around you is full of creative, otherworldly works of art. Every different style, perspective and way of expression is completely and utterly unique, and that is art.
The fanbase of creativity is too large to contain, and that’s why it’s such an interesting thing to discover. But upon the many, many different things you can draw, I’m here to show you how to create a chibi character step-by-step.
Starting your artistic career can be a brutal challenge, factoring in the tears, ripped up papers (or deleted digital pdfs), and the broken art supplies. But, it’s crucial to remember that we all start somewhere. There are many tutorials, guides and courses that can be taken to elevate one’s skill, and just applying those can be a game changer.
Chibis, or also known as “super deforms”, are childish-looking cartoon characters that are often used in anime, manga and various keychains and stickers. Their purpose is to define a more adorable side of a character, providing relief from typically solemnly-drawn figures. Also, they are used to exaggerate expressions.
How to draw a chibi character:
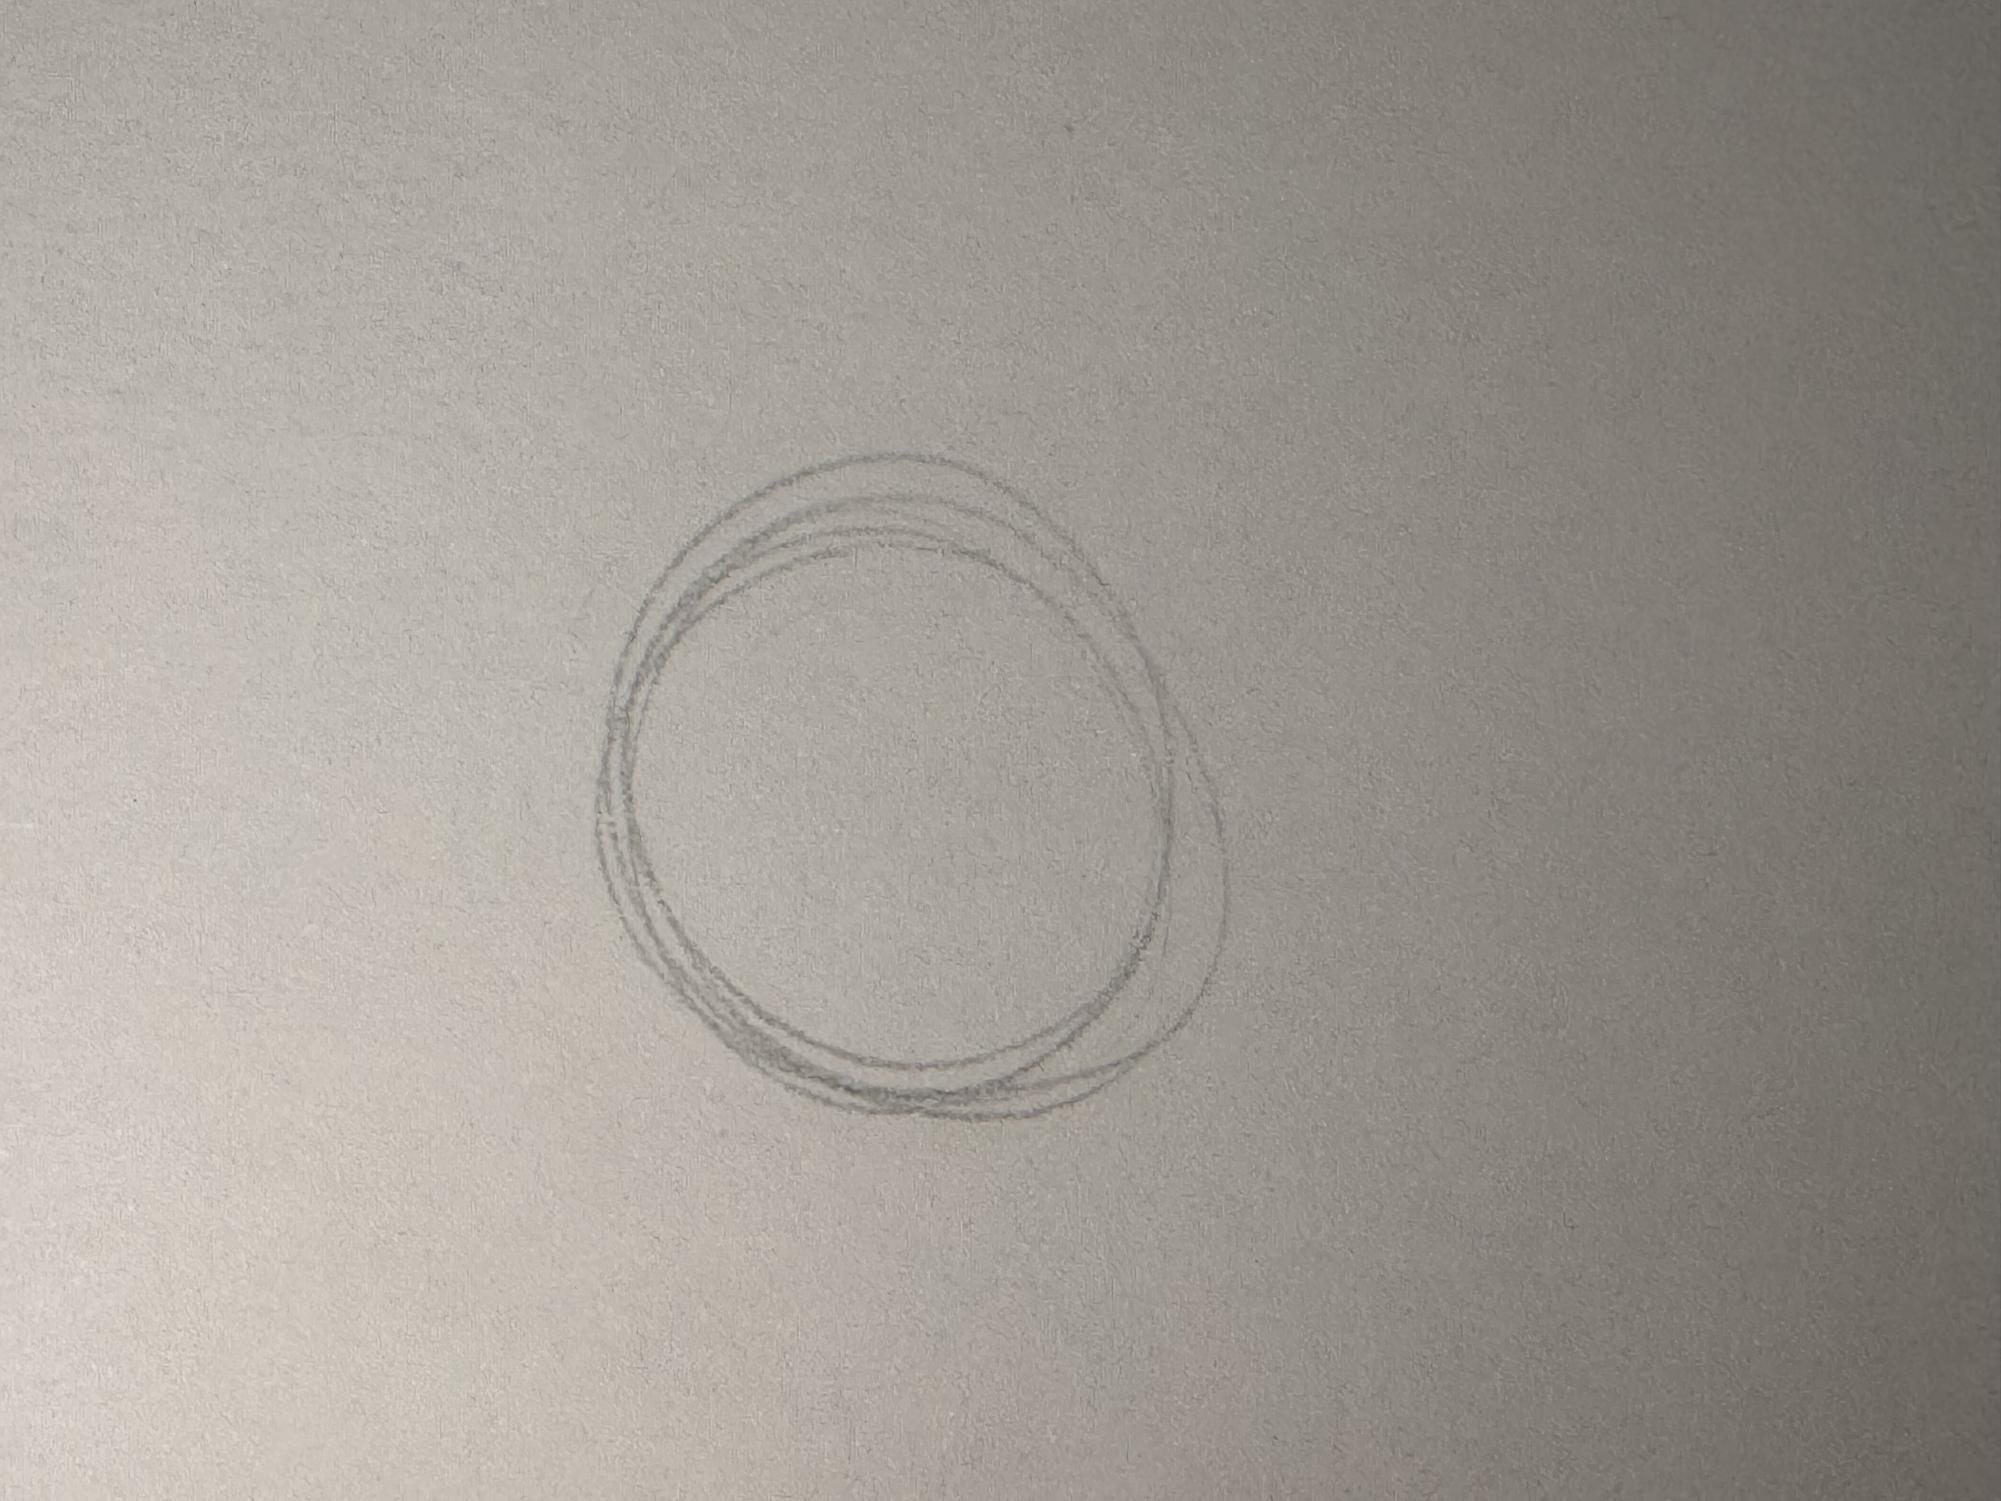
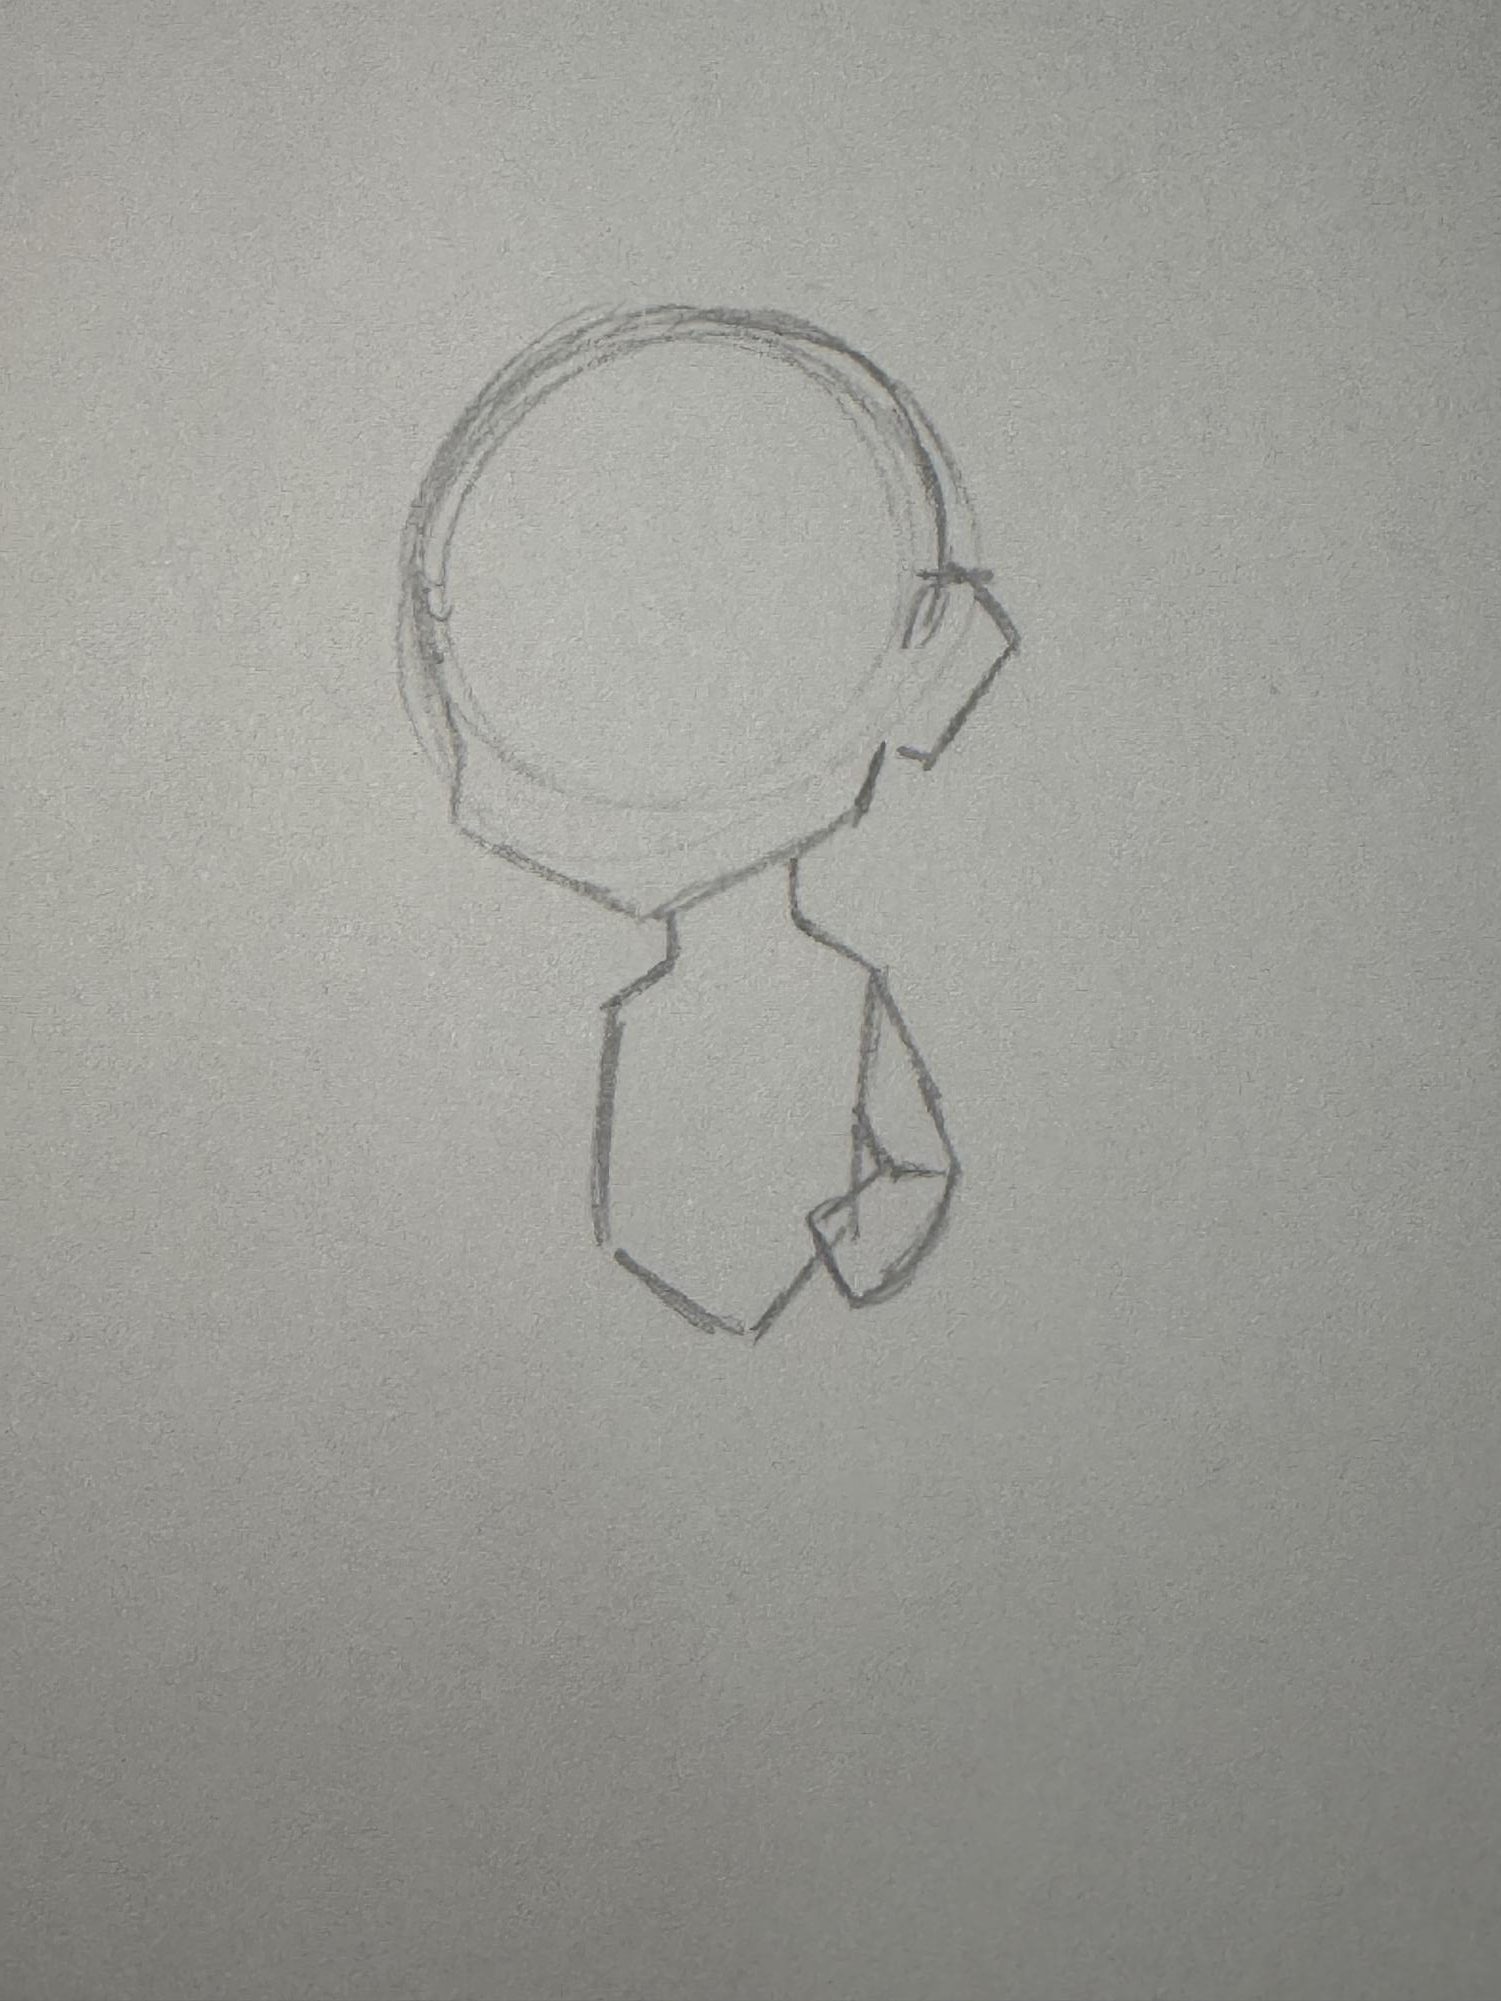
Step 1 – Draw a circle. Using a rough sketch of a circle assists artists in creating a sturdy guide for the head of the figure
Step 2 – Draw the shape of the head. Chibi figures typically have large ears and a prominent cheek (depending on the angle it is facing). The head is bigger than the body.
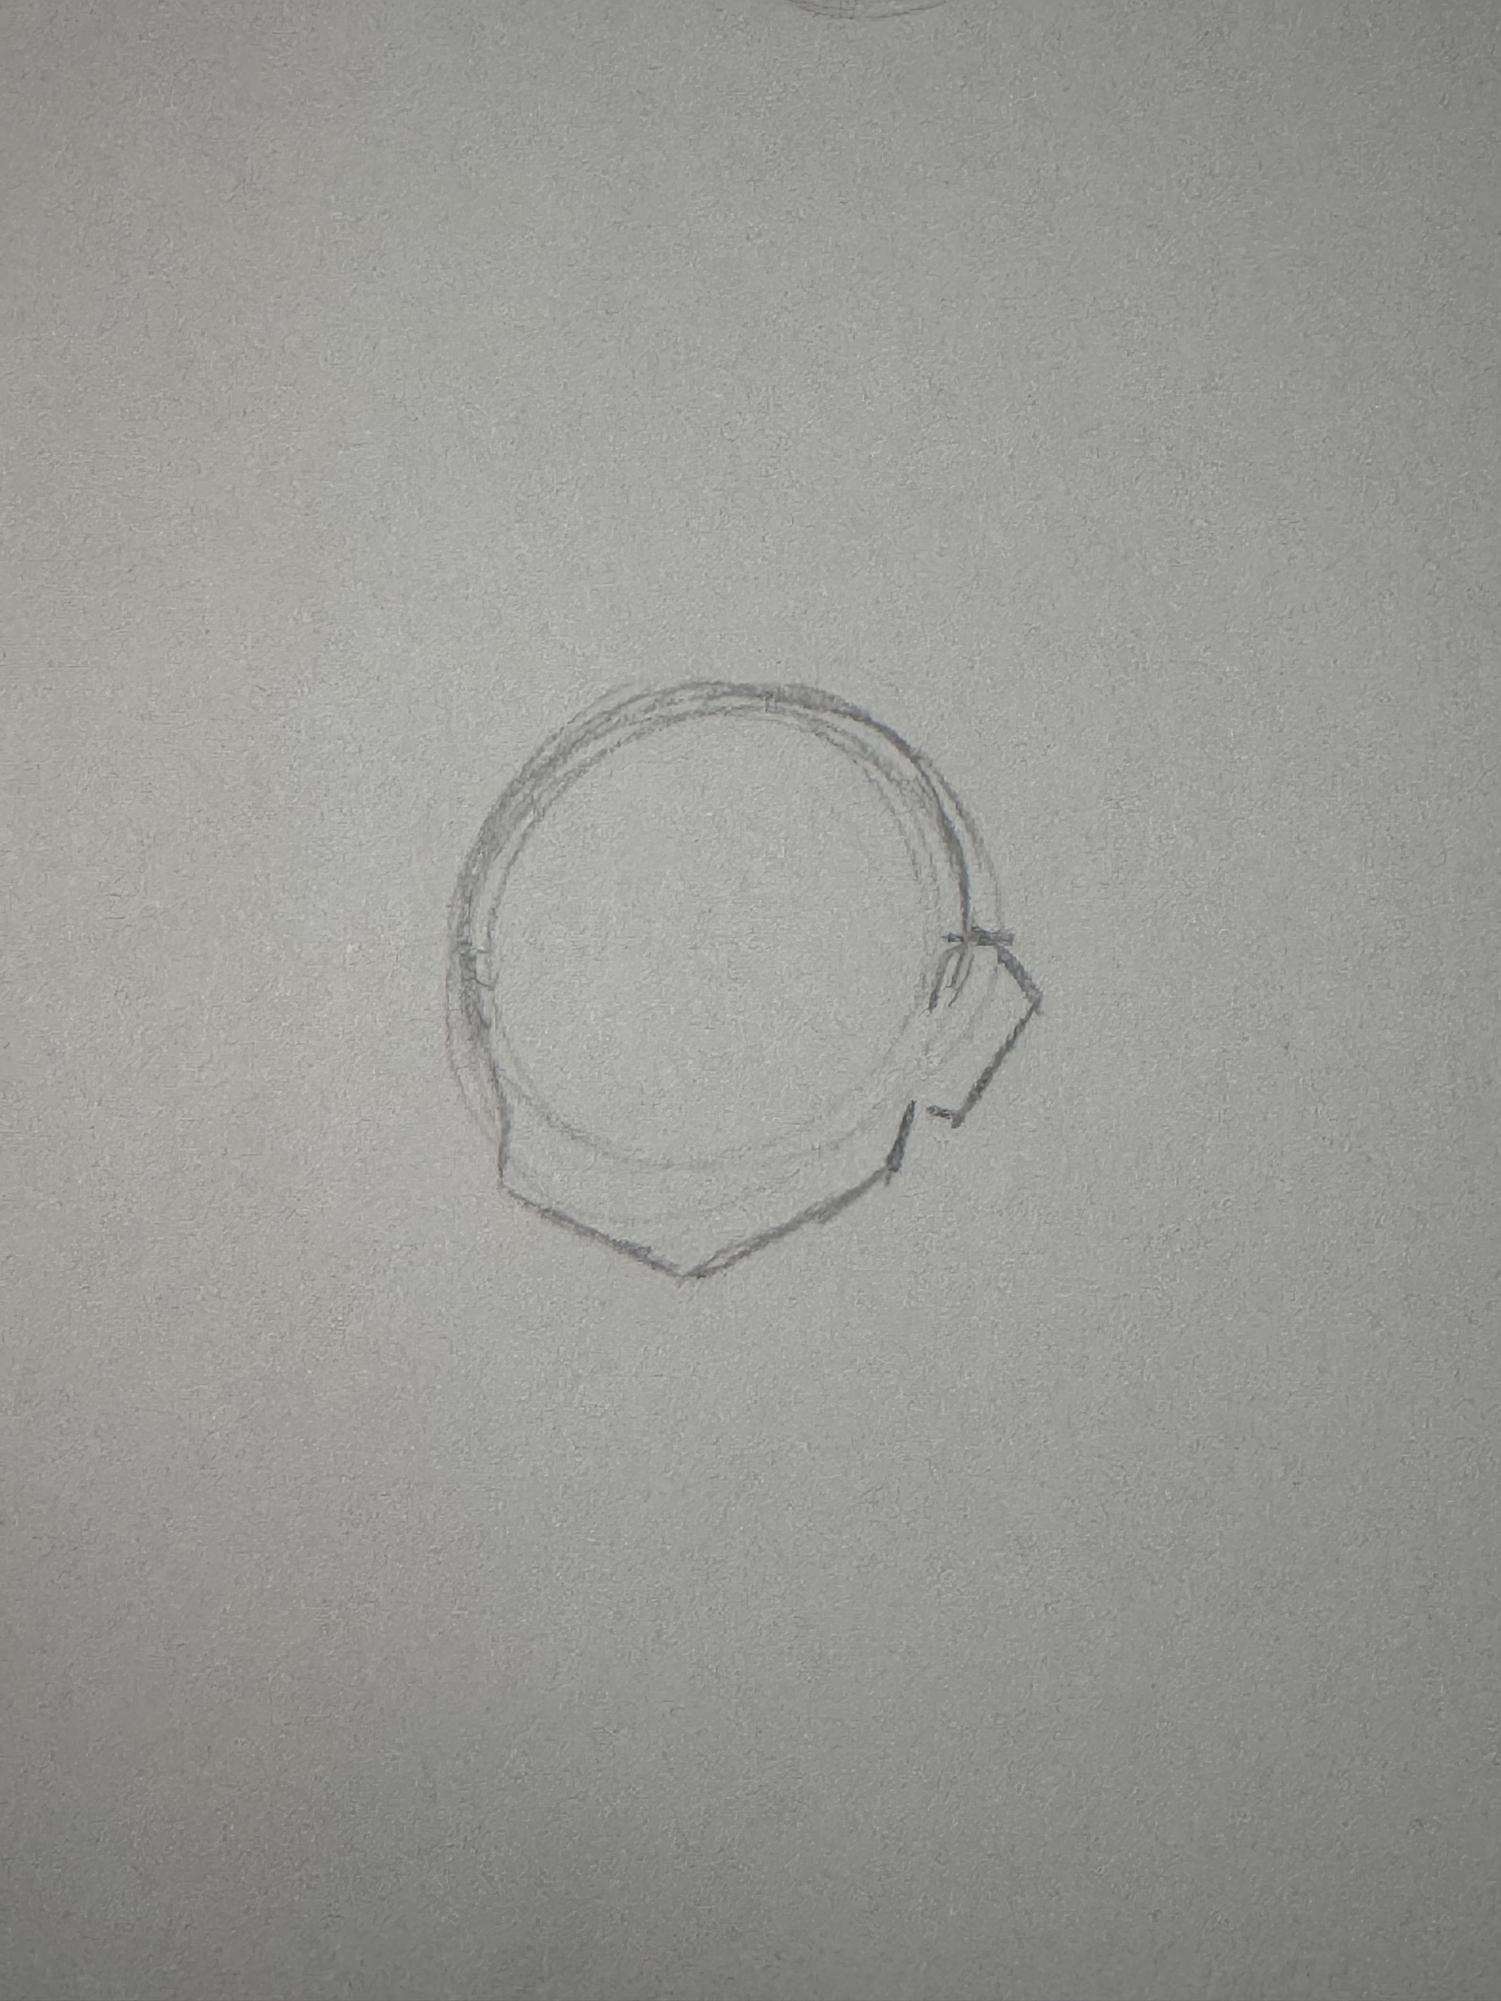
Step 3 – Draw the neck. For chibi figures, the neck is small and skinny. There are a few styles of chibi, and the smaller they are, the smaller the neck is. (For the most compact version, the neck is completely gone.)
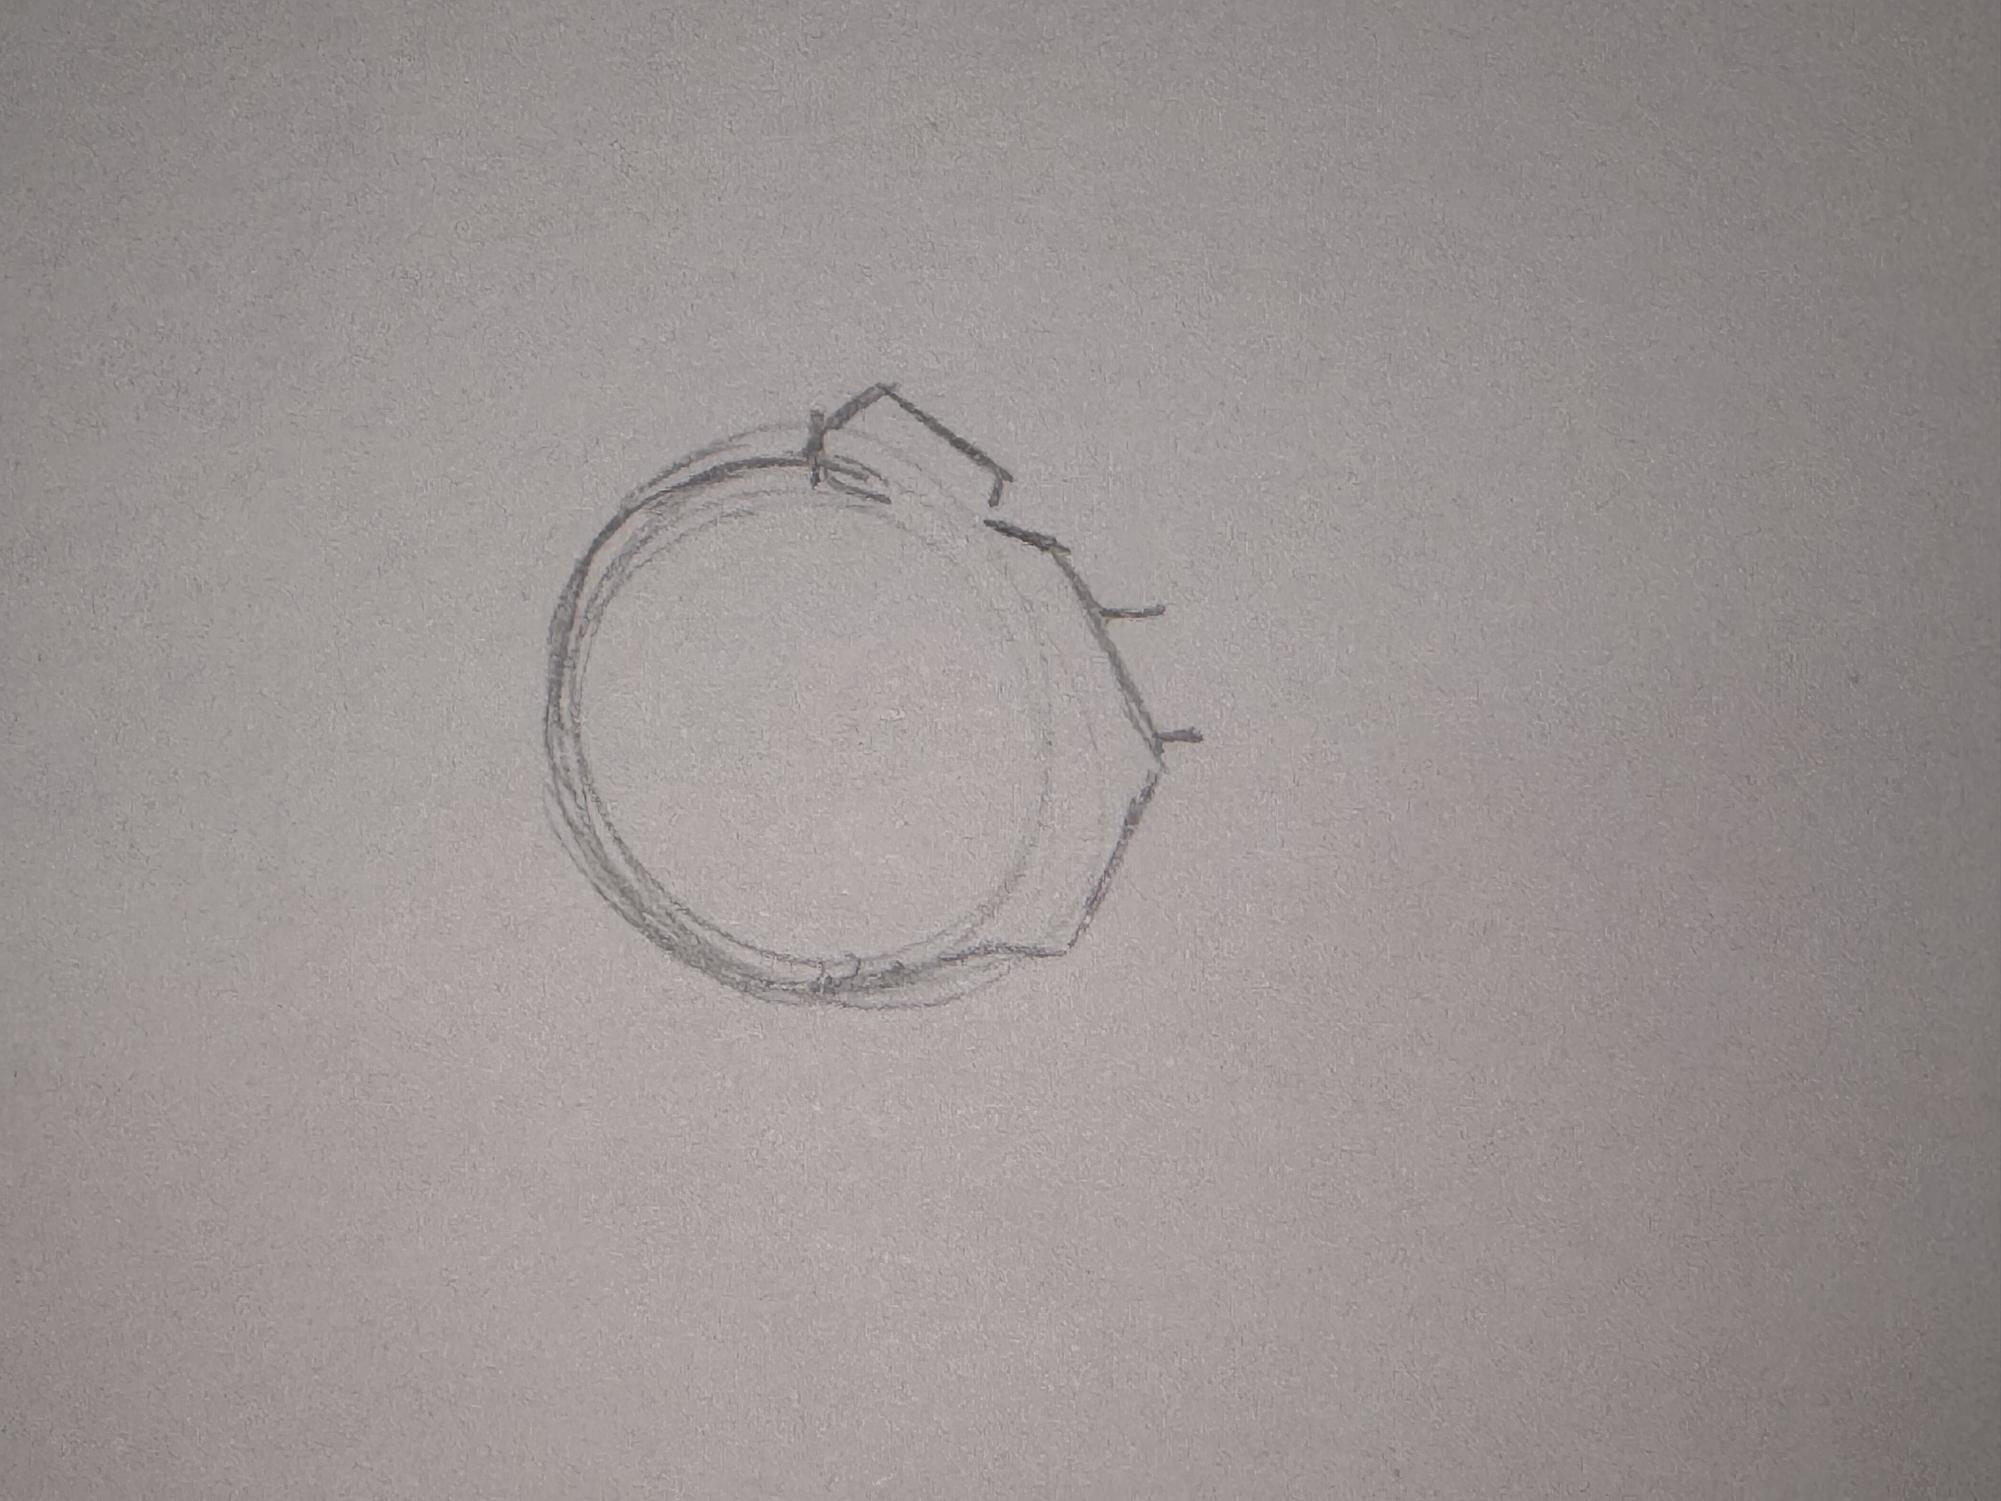
Step 4 – Use an elongated hexagon shape to draw the body. Make sure not to override the neck.
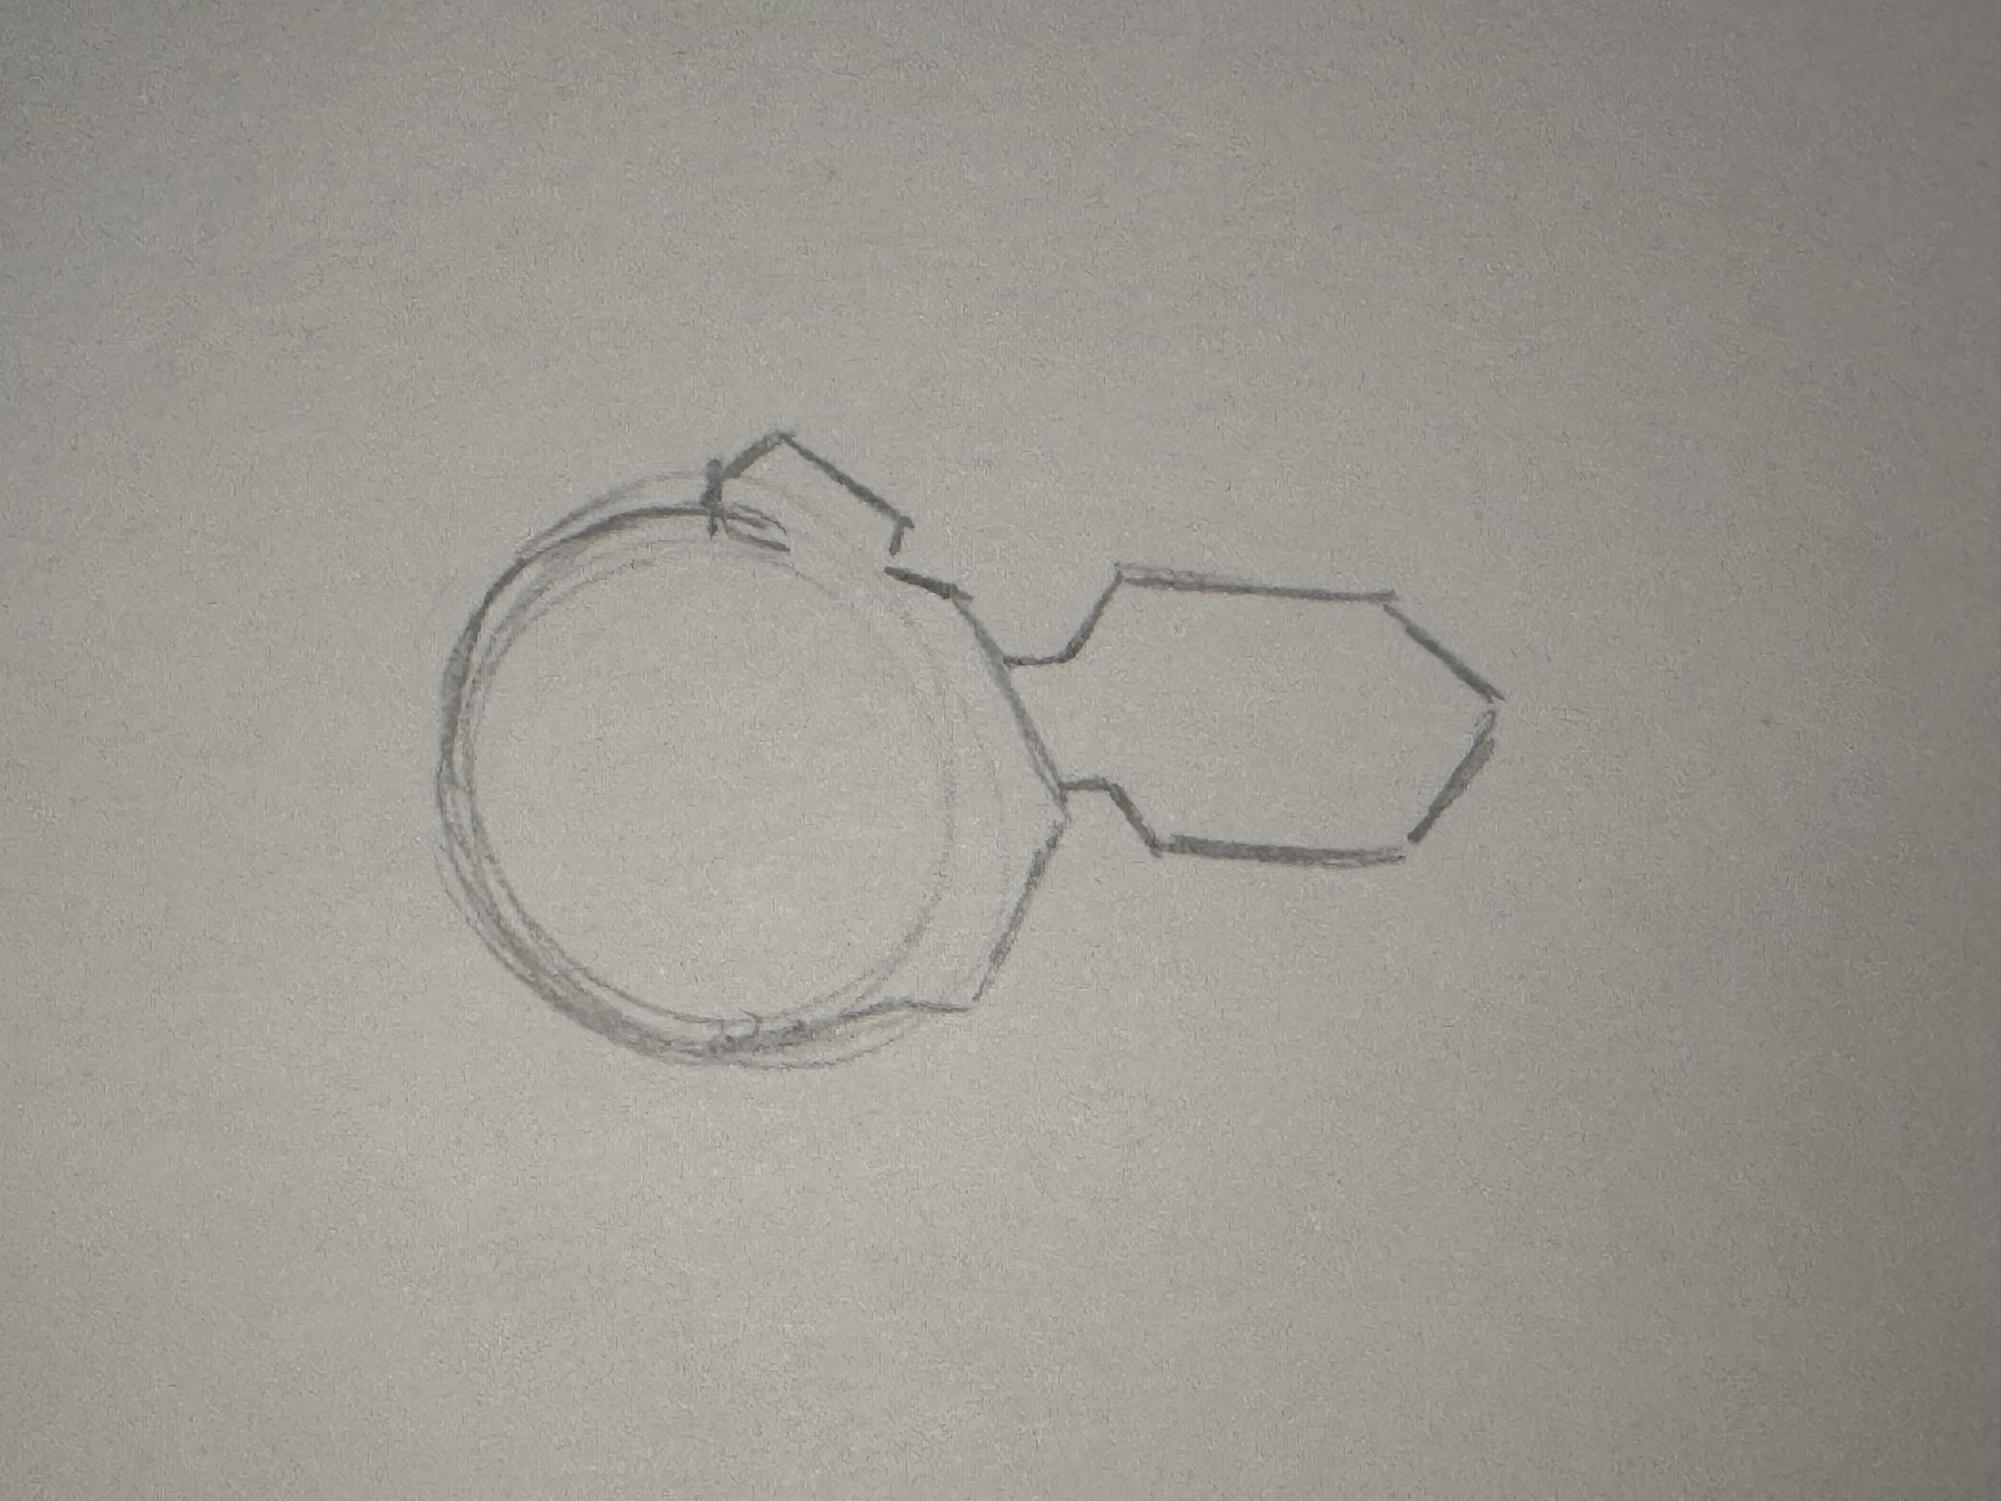
Step 5 – Draw an arm. This can be done by picturing two quadrilaterals attached to each other. This tactic can help to draw arms in any position.
Step 6 – Draw legs. Start at the point of the torso and make your lines slimmer as you reach the ankles.

Step 7 – Draw the feet. Since chibi figures are not realistic, a triangle is sufficient for the shape of the foot (unless there is sudden emphasis on the foot of the character.)
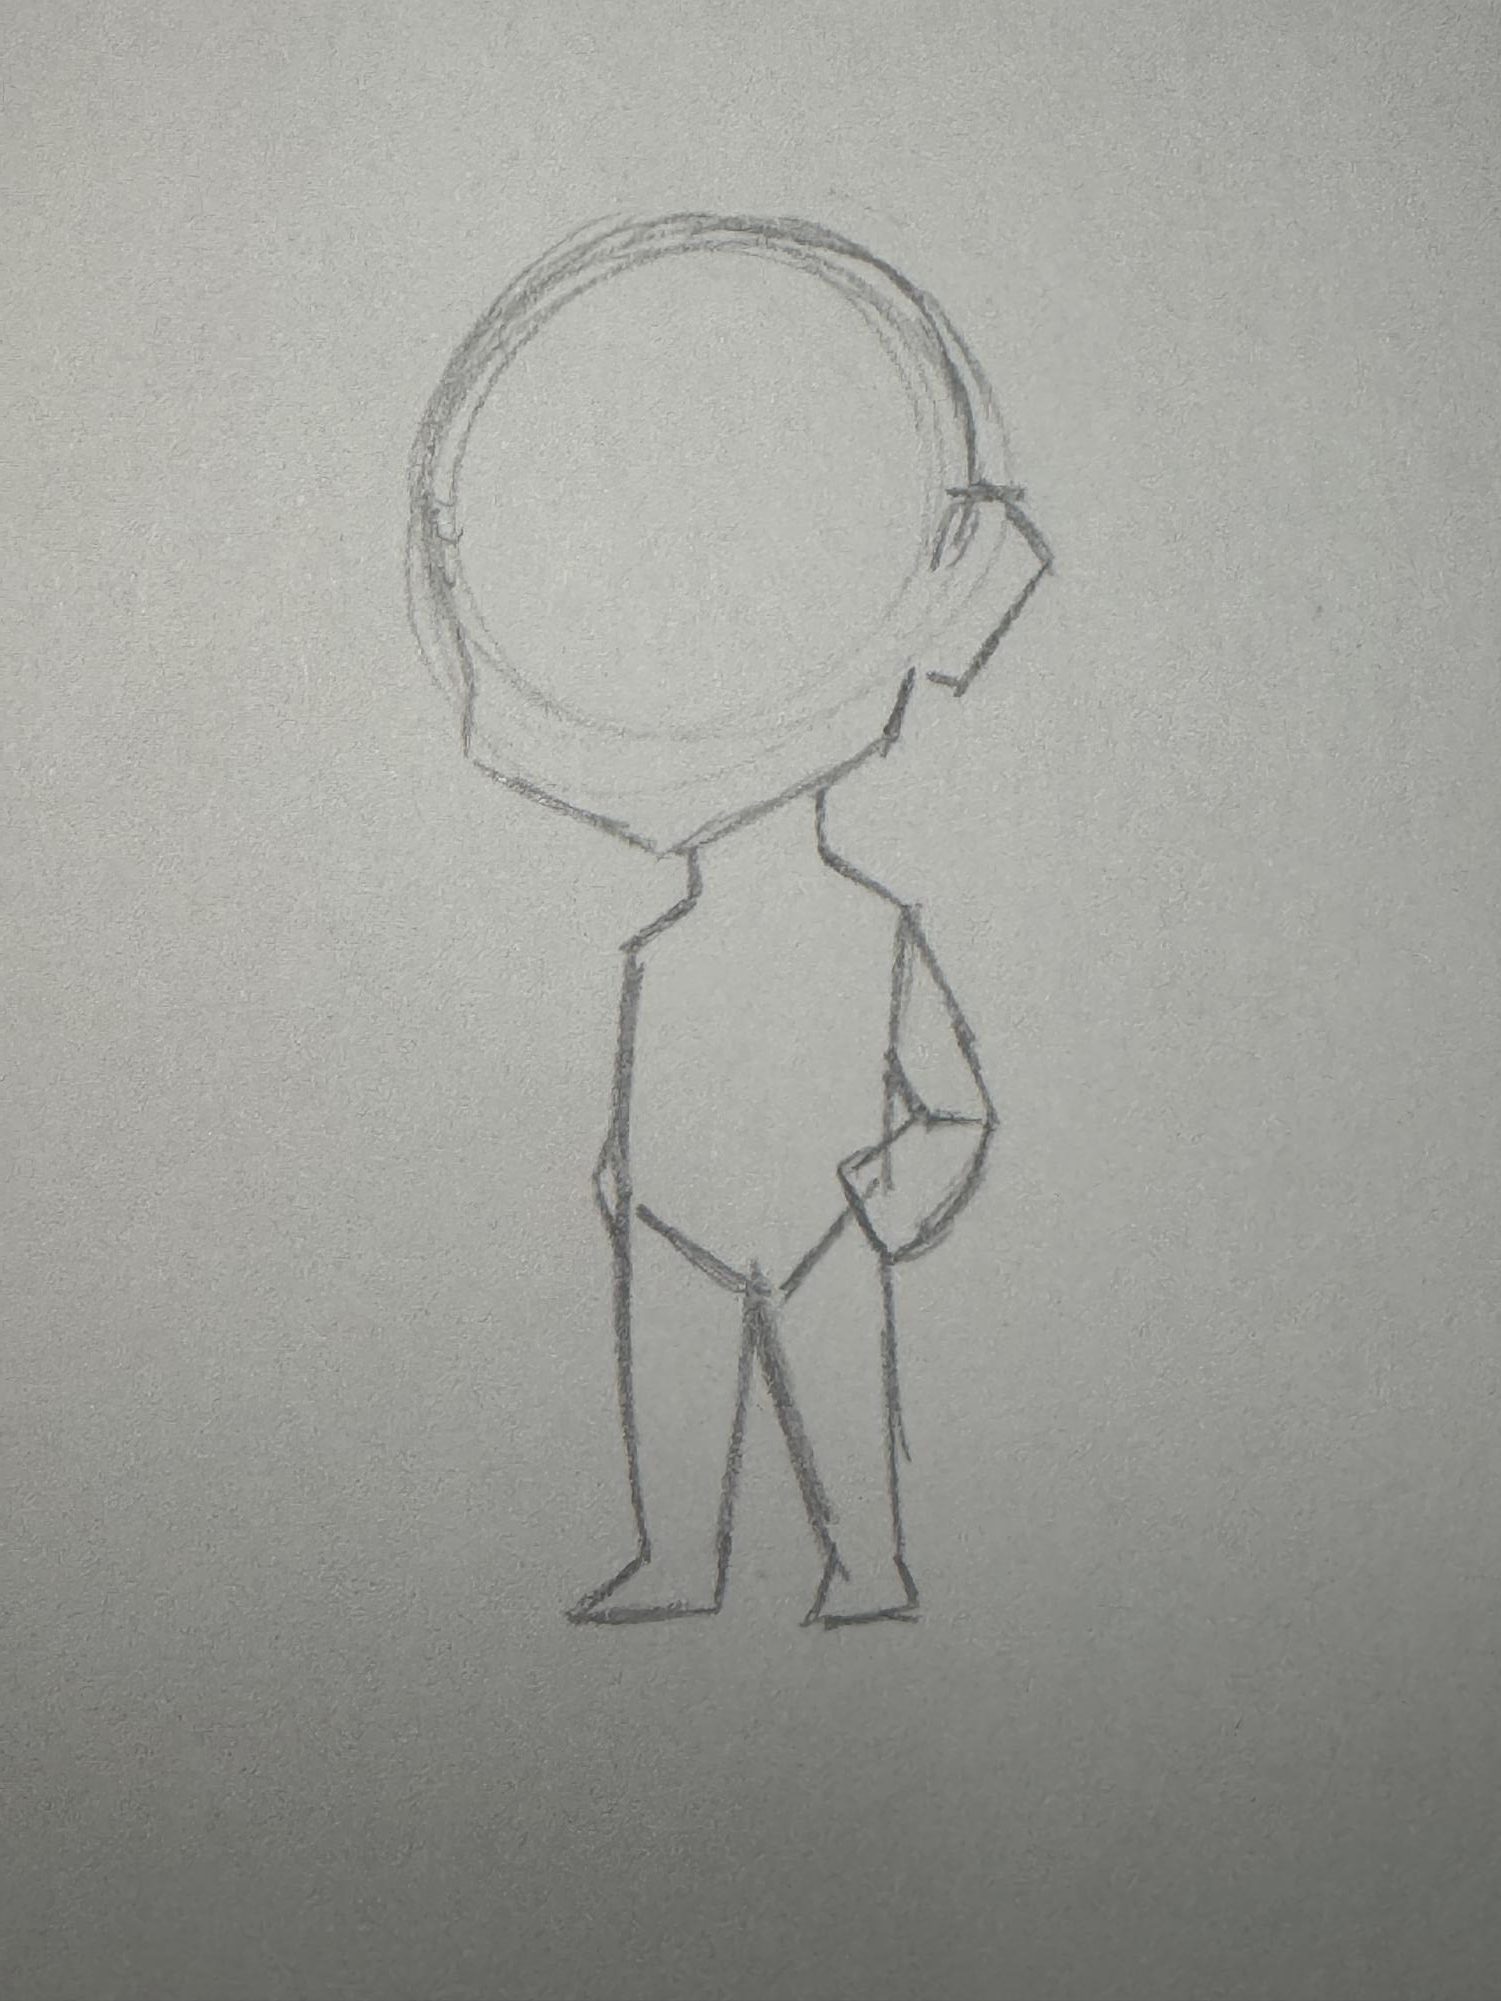
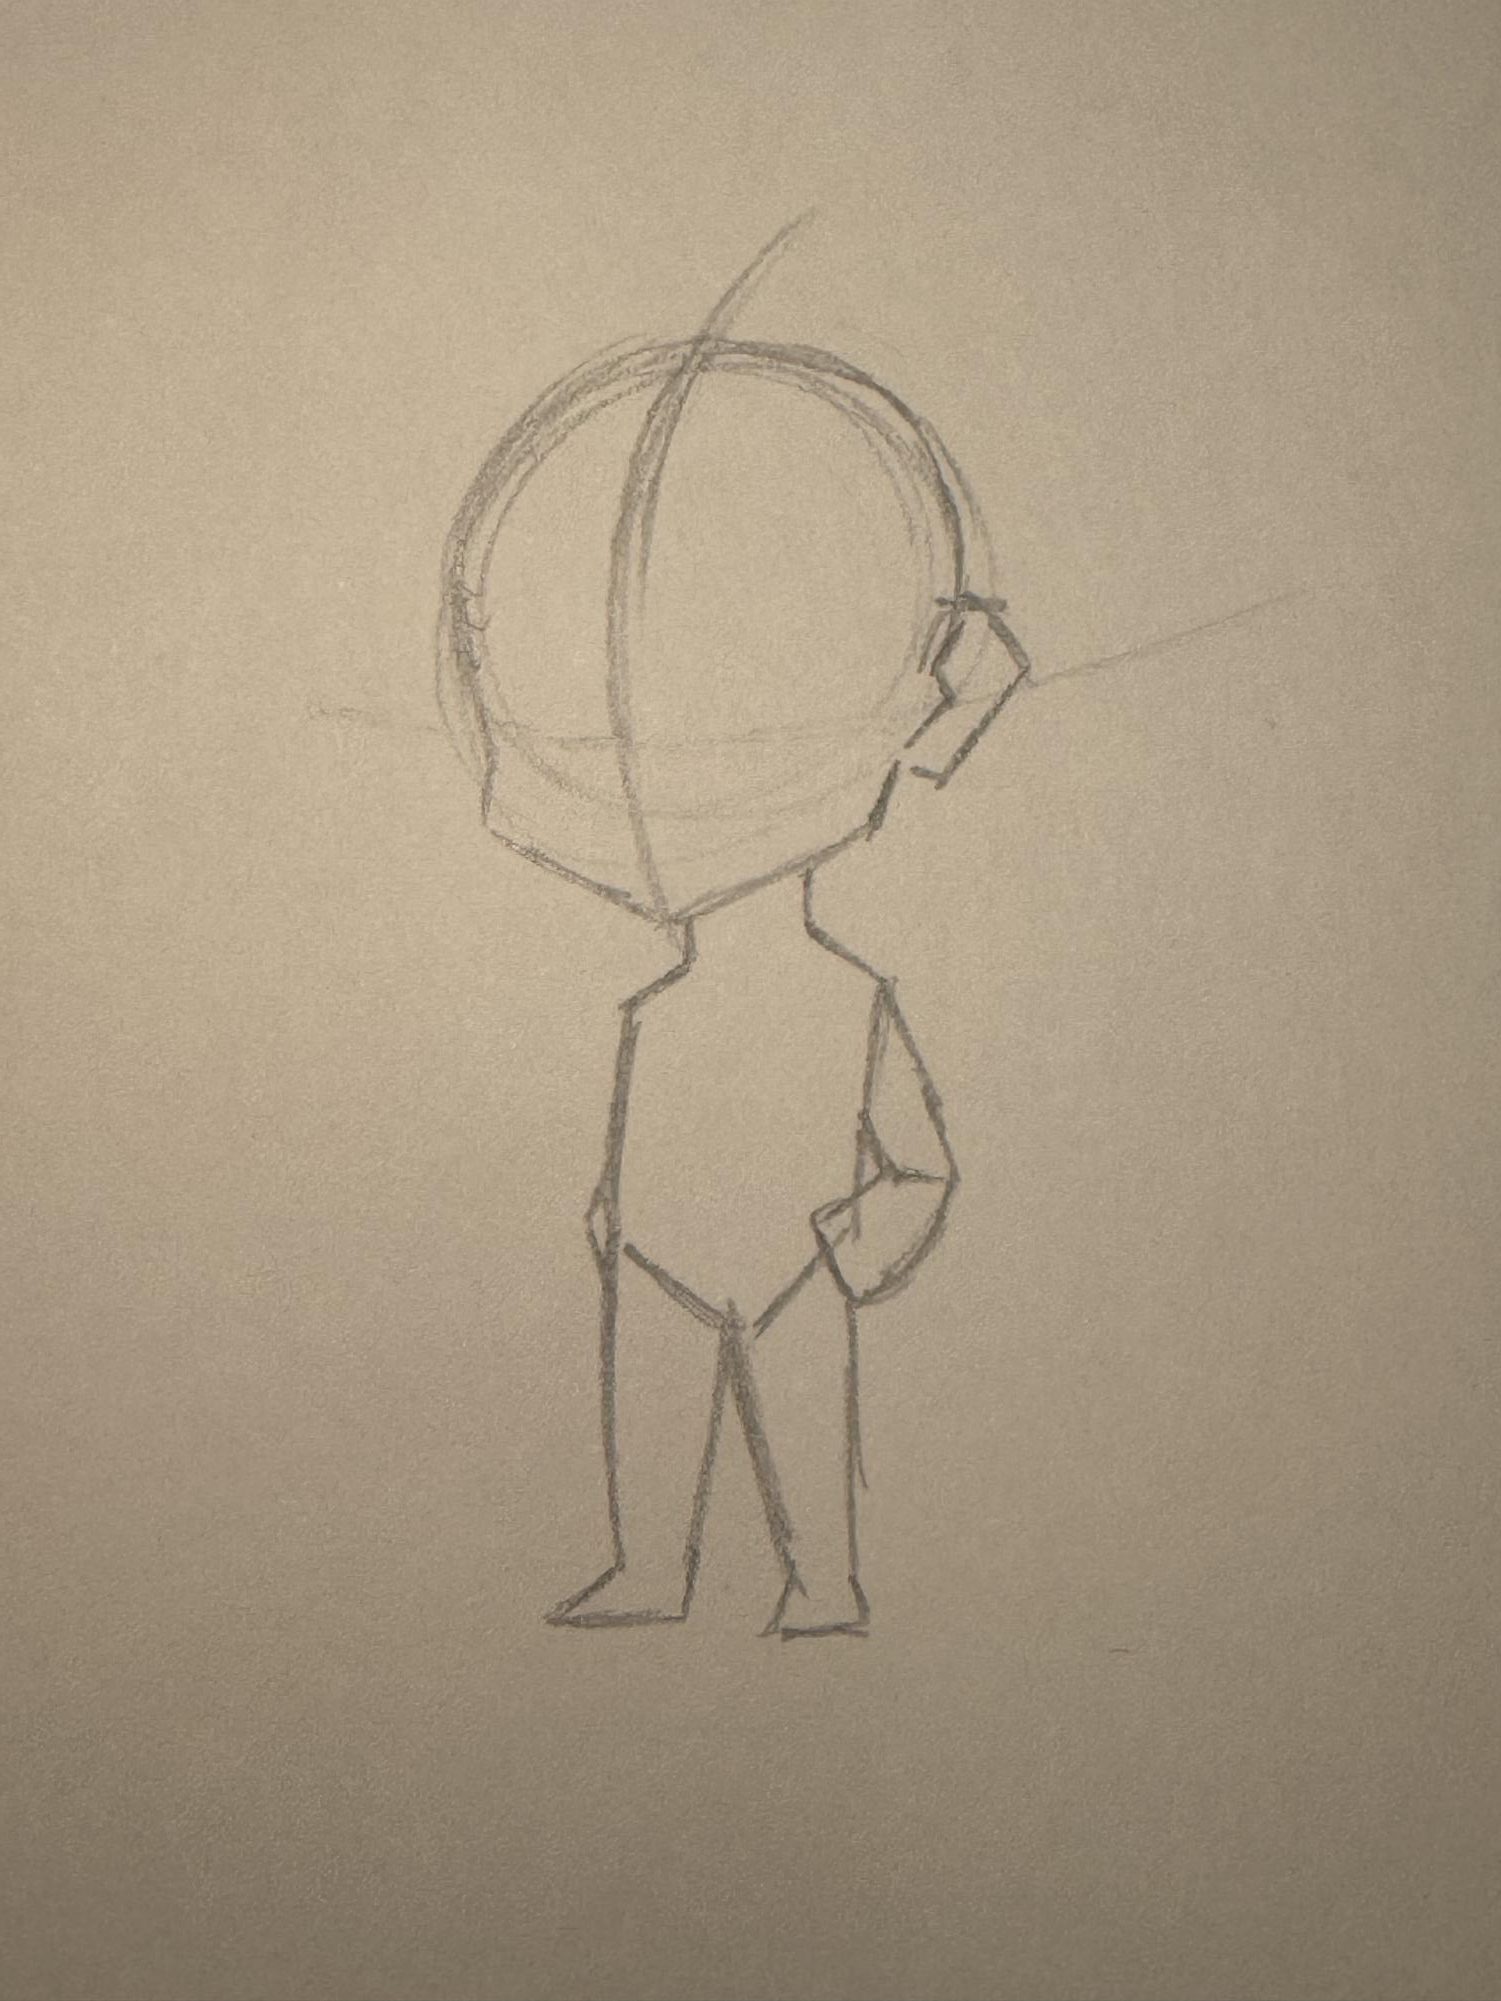
Step 8 – Use a slanted “S” shape to draw the details on the ear. Lines of symmetry are drawn on rough sketches of the face and/or body of a figure to keep facial features and limbs equal.
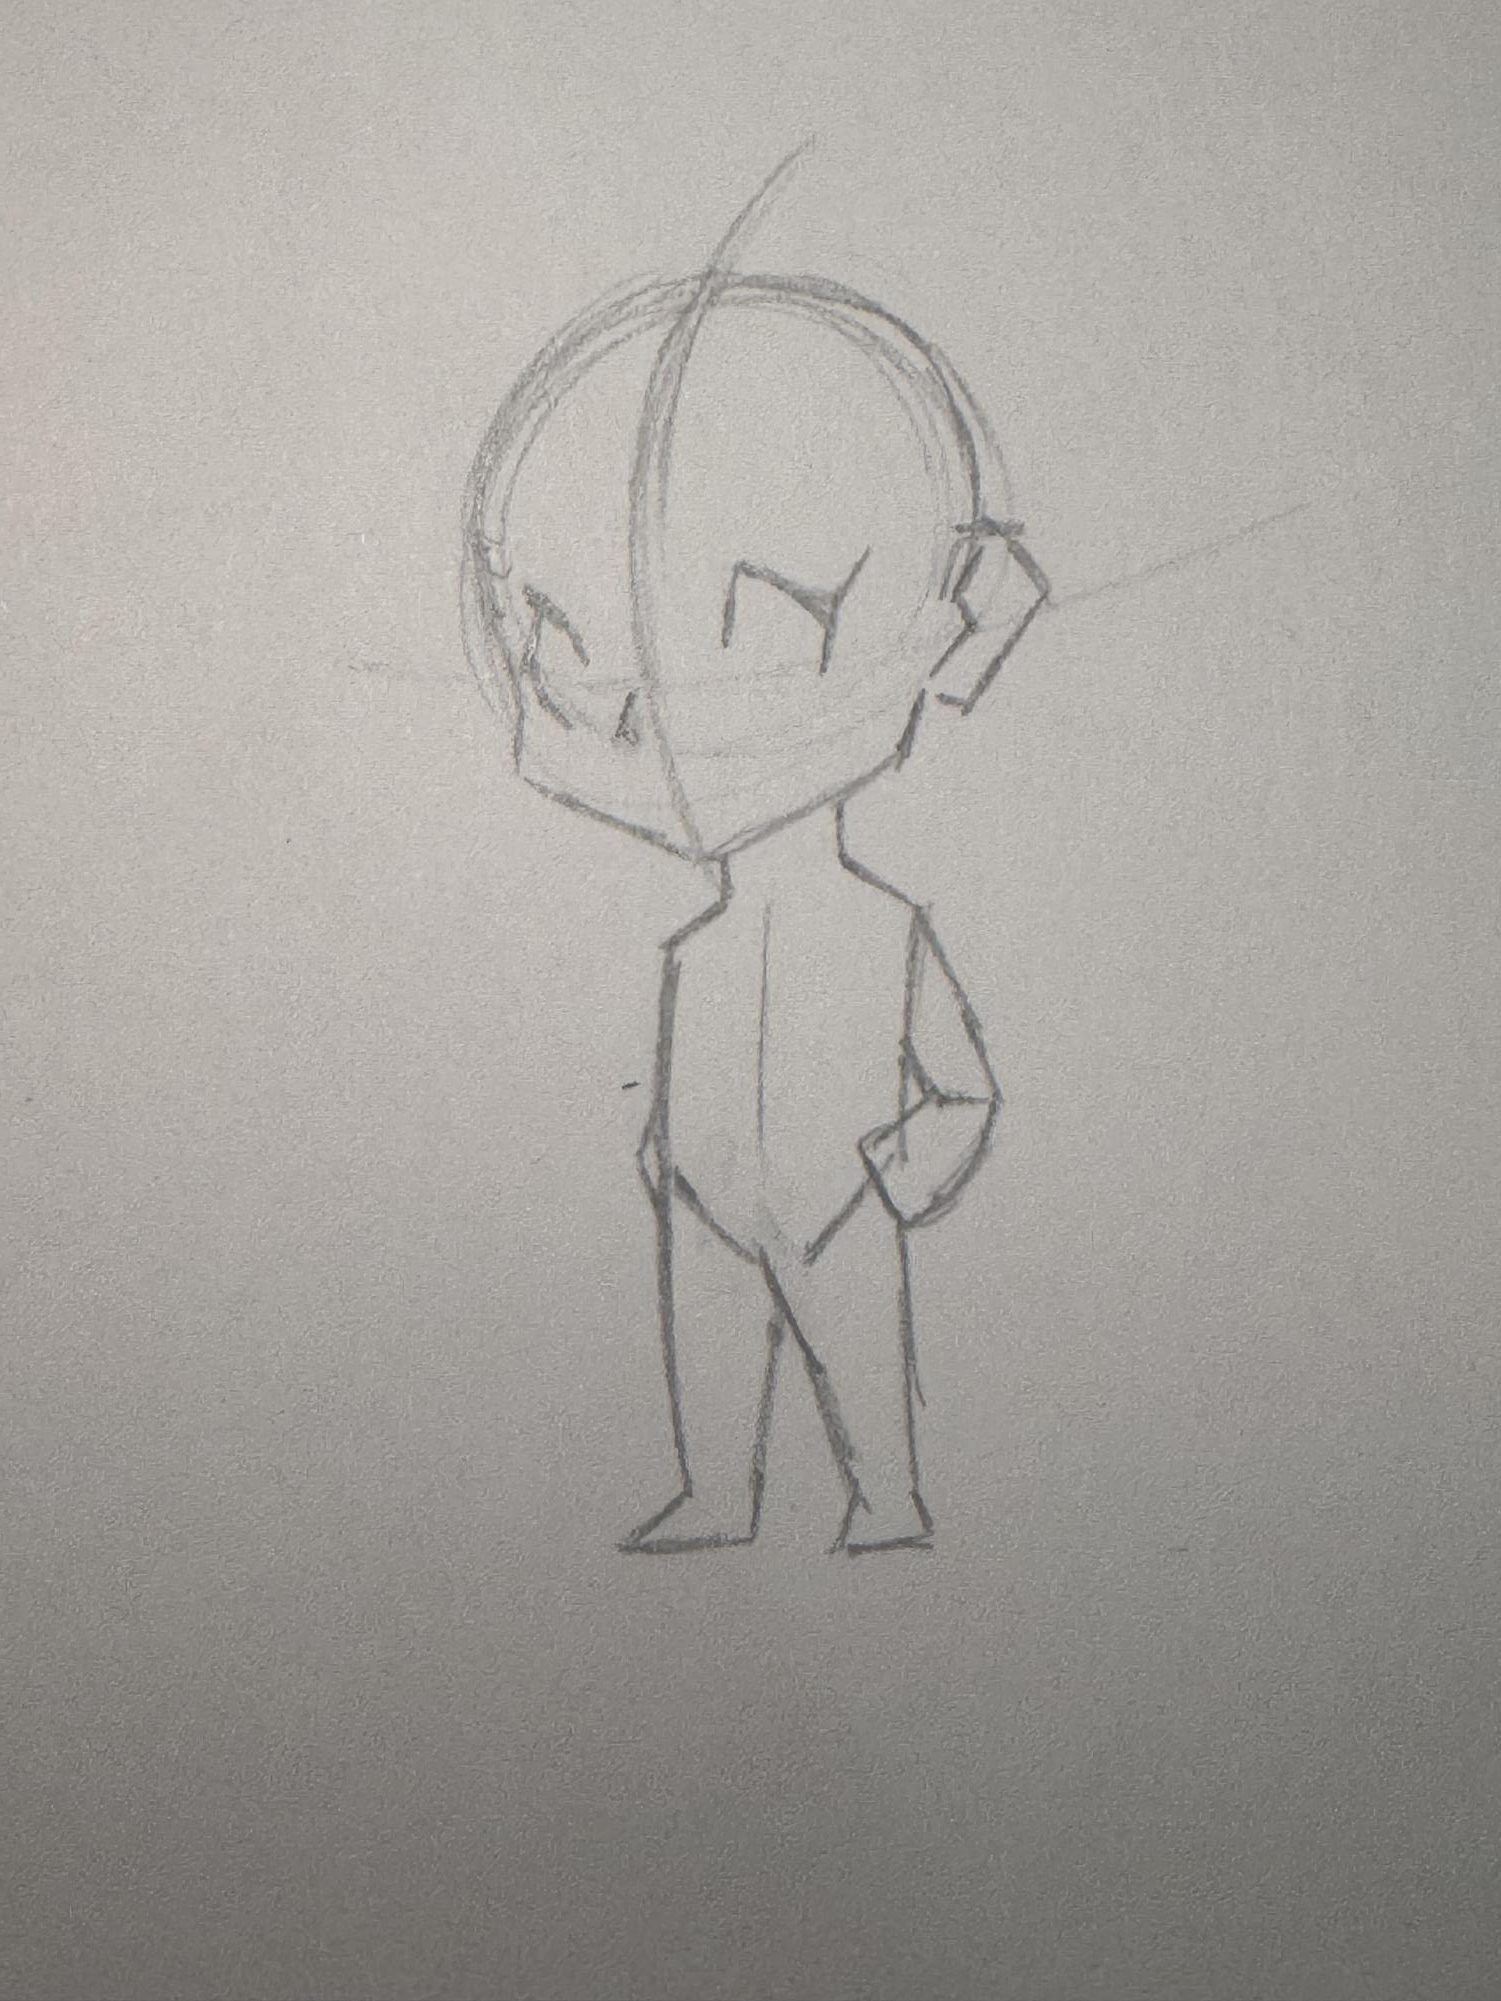
Step 9 – Draw the eyes and nose. I used a “half square” shape for the more prominent eye, with the exception of a triangle and a streak to emphasize the eyelashes. When a character is turned towards one side, the side that is not prominent must be drawn to proportion, which could mean shrinking the width of an eye to match. A small sideways triangle is used to draw the nose.
After successfully creating the draft of the figure, you can decorate it by adding clothes, hair, facial features and accessories. Here is my example of my original character, Ash, below. (My character has a hooked nose, piercings and longer hair, so I altered the sketch.)
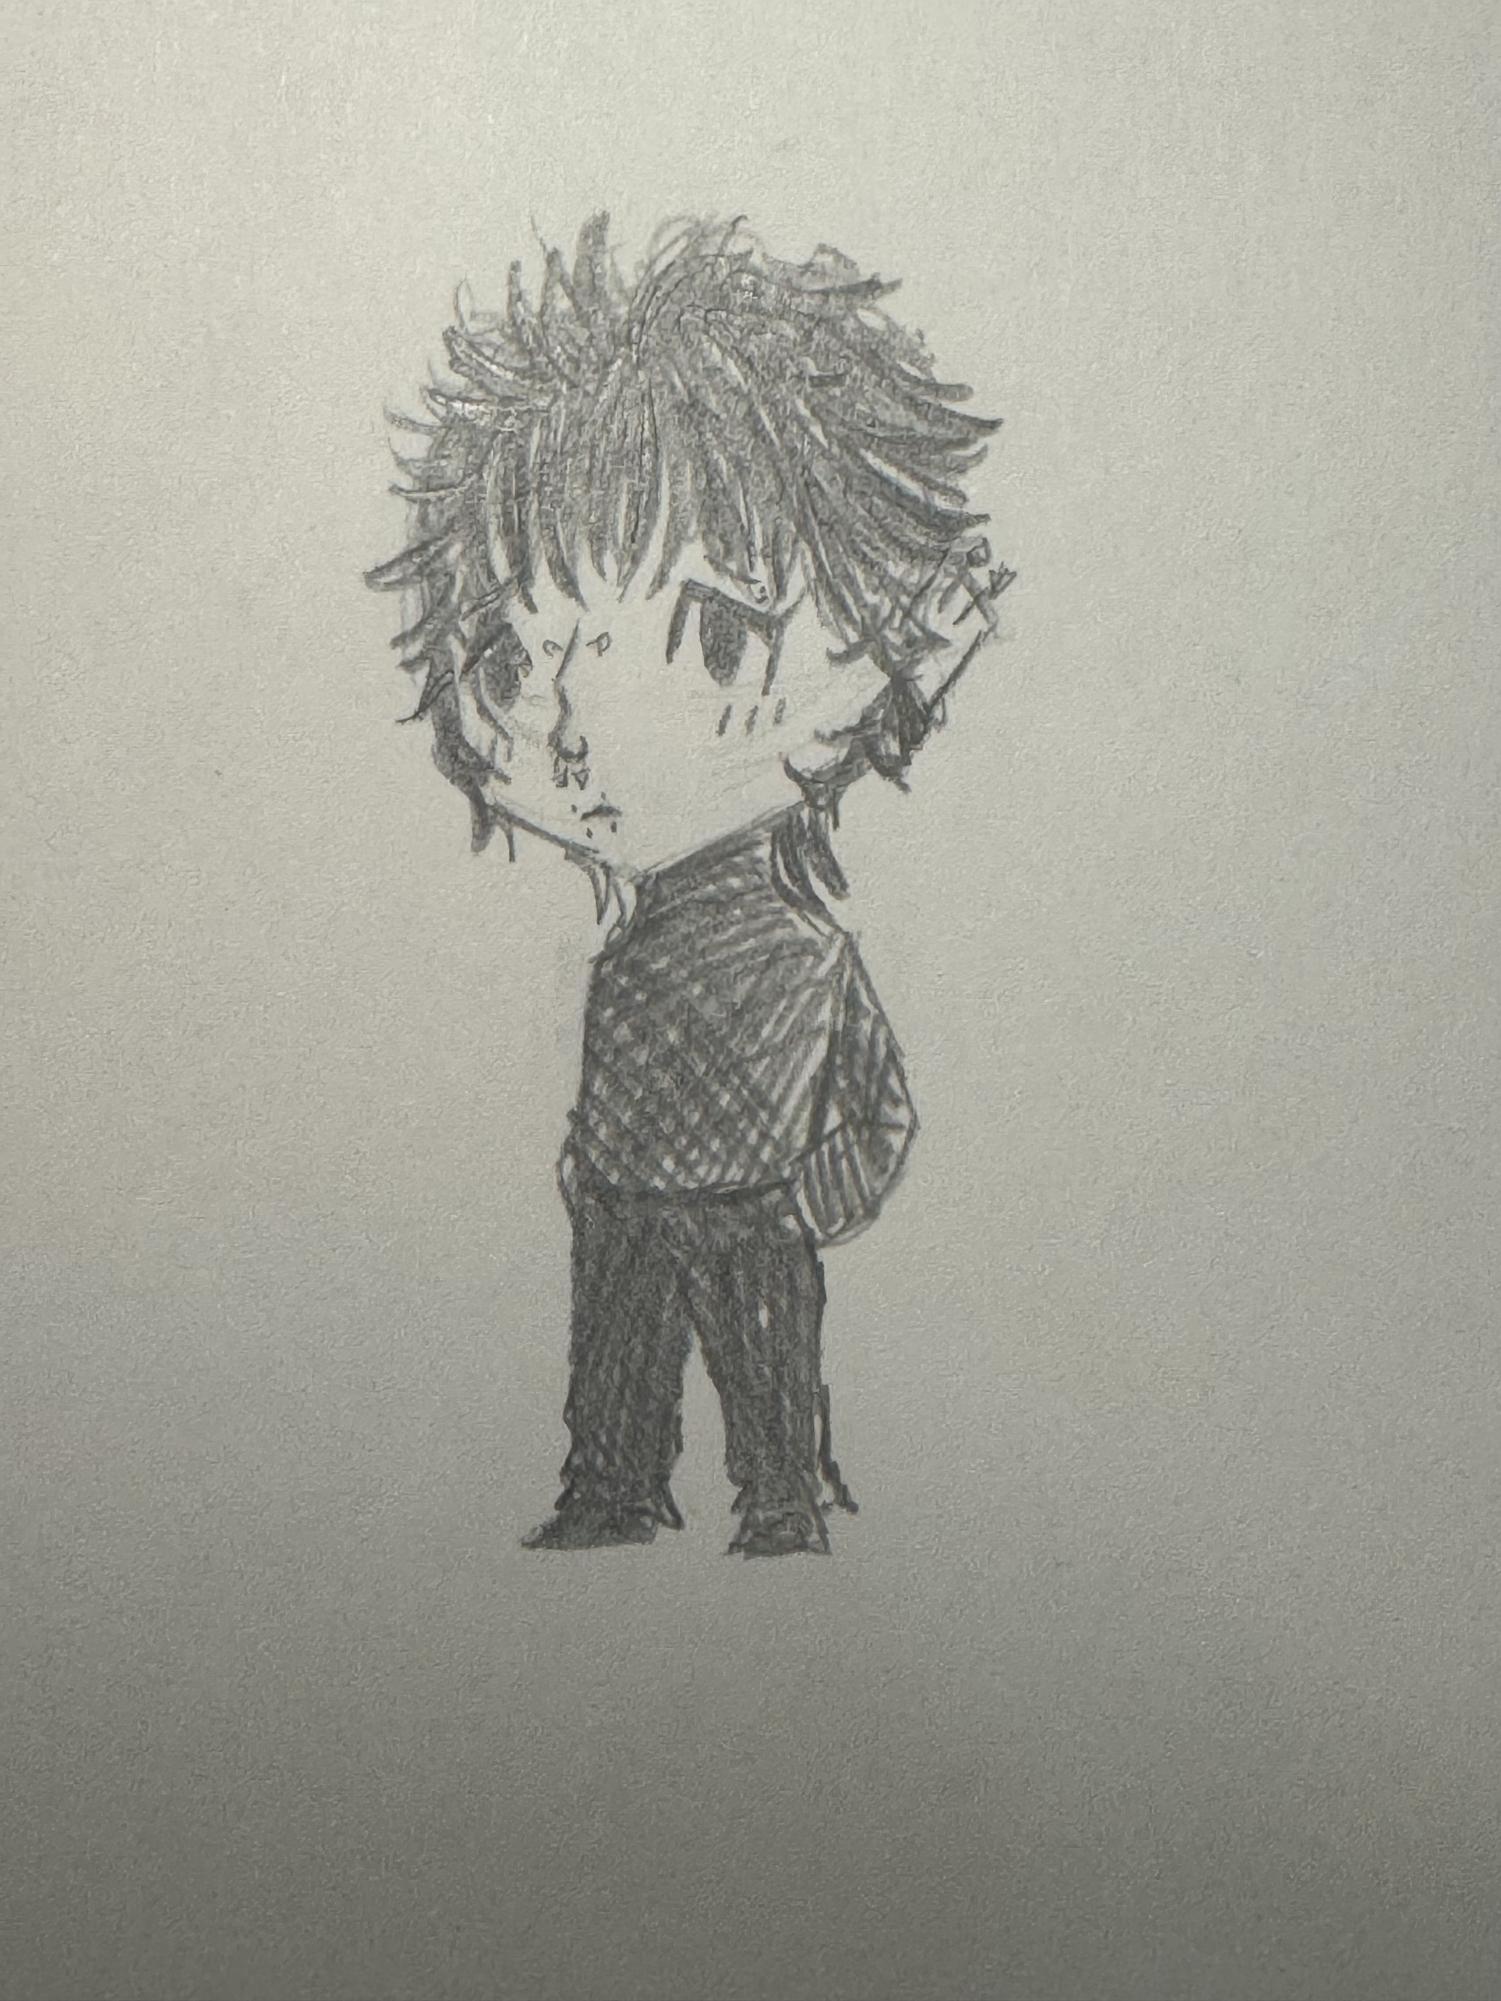
If you’re able to identify the loose rules of drawing super deforms, you can apply those rules to other sketches so you can make different poses. A few examples are displayed below. Happy drawing!


